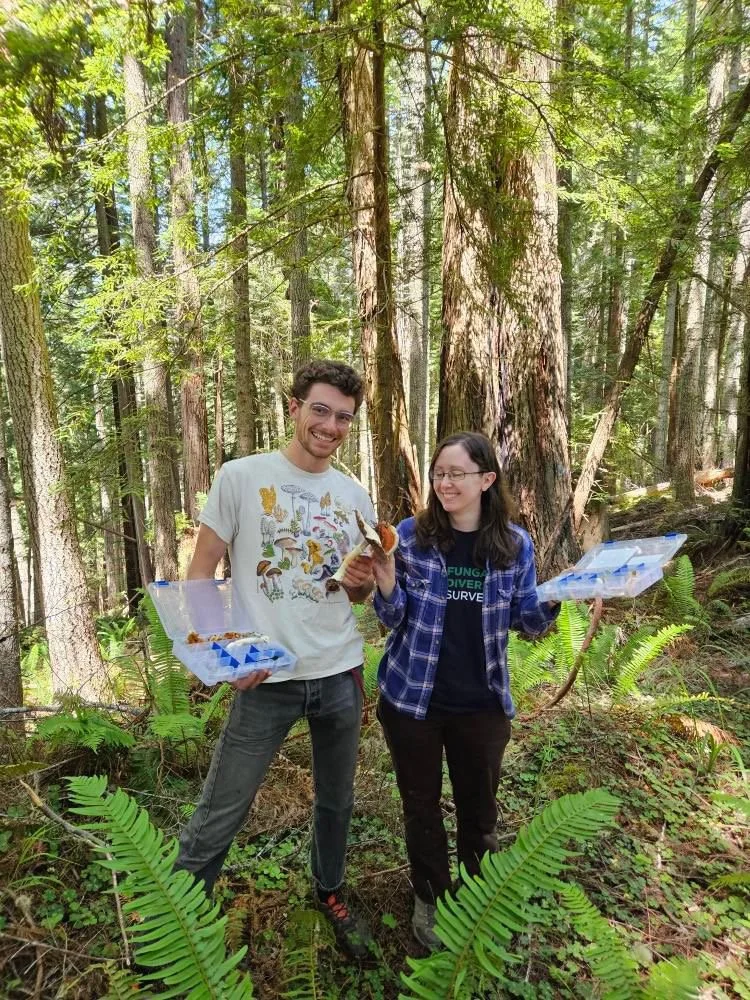
Collecting Mushrooms for Science
To protect fungi, high-quality observations and collections are crucial. With only 5% of fungi described, naming them is essential for conservation. Establishing baselines helps track species' health. Many discoveries await in fungal biodiversity, and anyone can become a community scientist to help.
Before you go into the field
Collecting Permits
Check if access or collecting permits are required. No permit is needed for photographing fungi, but you may need an access permit.
Where are permits needed?
Permit requirements are highly variable by region, state and locality.
They include:
Many parks; all national parks and monuments.
Some land managed by agencies such as the US Forest Service, Bureau of Land Management; most allow for personal or recreational use.
Tribal land and areas managed as reserves, conservancies, etc.
Privately owned land.
Why are permits needed?
Some fungaria will not accept collections without evidence of a collecting permit.
You won’t get hassled/kicked off the land when you are collecting.
You might get special access, ability to drive on the land, ability to stay in research station housing, etc.
How do I secure a permit?
Determine who owns or manages the land where you’ll collect.
Find out about the land owner/manager’s permit opportunities and regulations, usually on-line, including how long it generally takes to be considered and receive your permit (can be many months).
Make personal contact with a manager, if possible, to learn more of what they need, timing, etc., and to develop a relationship.
Sometimes affiliating with a government agency, university or non-profit conservation organization will help.
Being a recognized FUNDIS project, especially with a sequence grant, can help your application.
Are you collaborating with anyone?
What are the research interests of your collaborators?
Do you have a collection strategy?


In the field
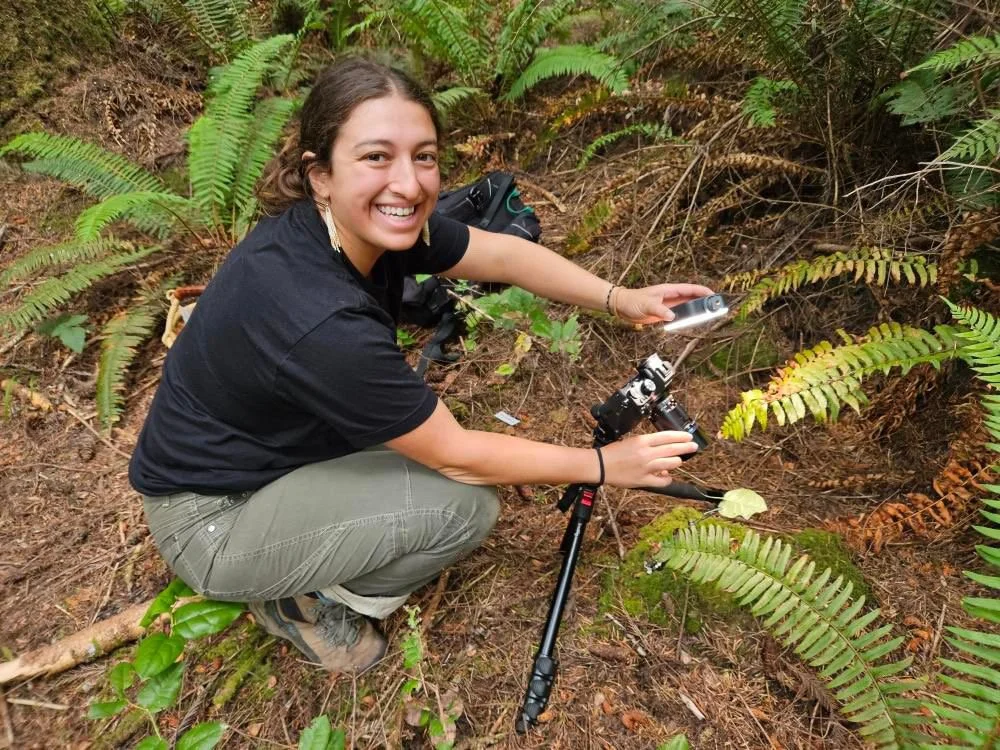
Photographing Mushrooms
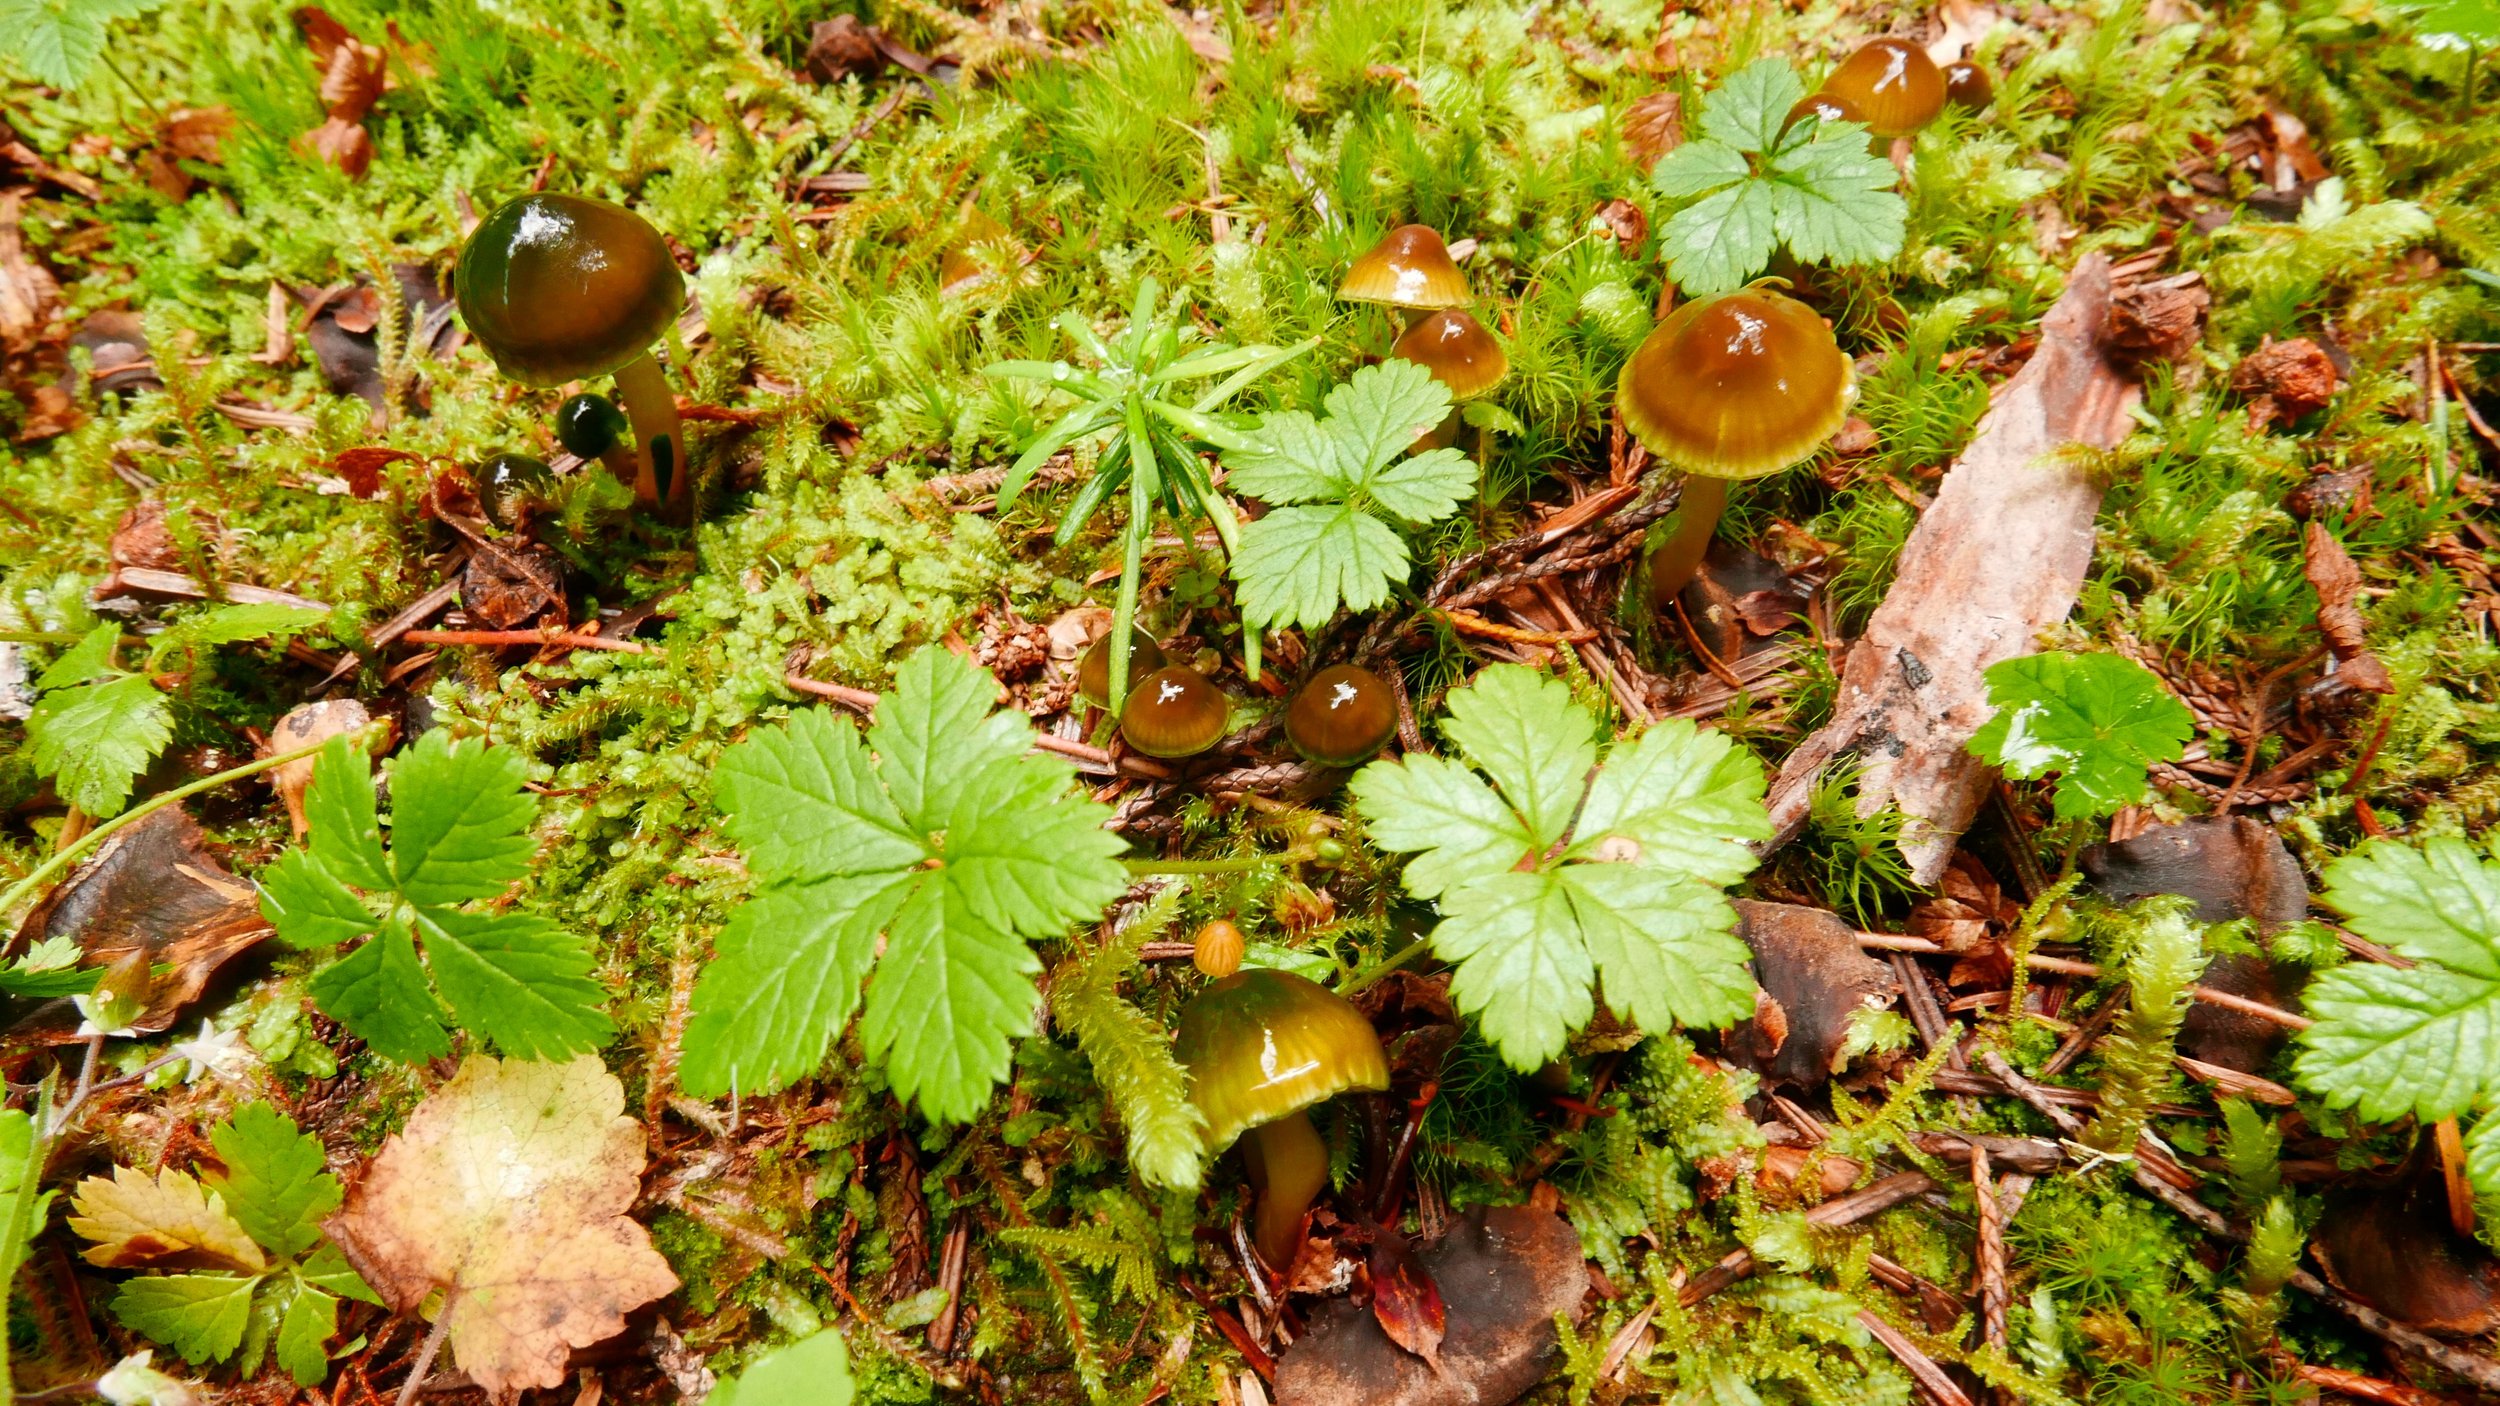
Take photographs of the mushroom where you found it. This is important because some features like color or delicate tissue may change or degrade, to capture information about the habitat, and to attach GPS coordinates to your image.
Before collecting
Take photographs of the mushroom in place, before digging it up/removing it.
If your fungus is dirty, gently clean it before photographing it.
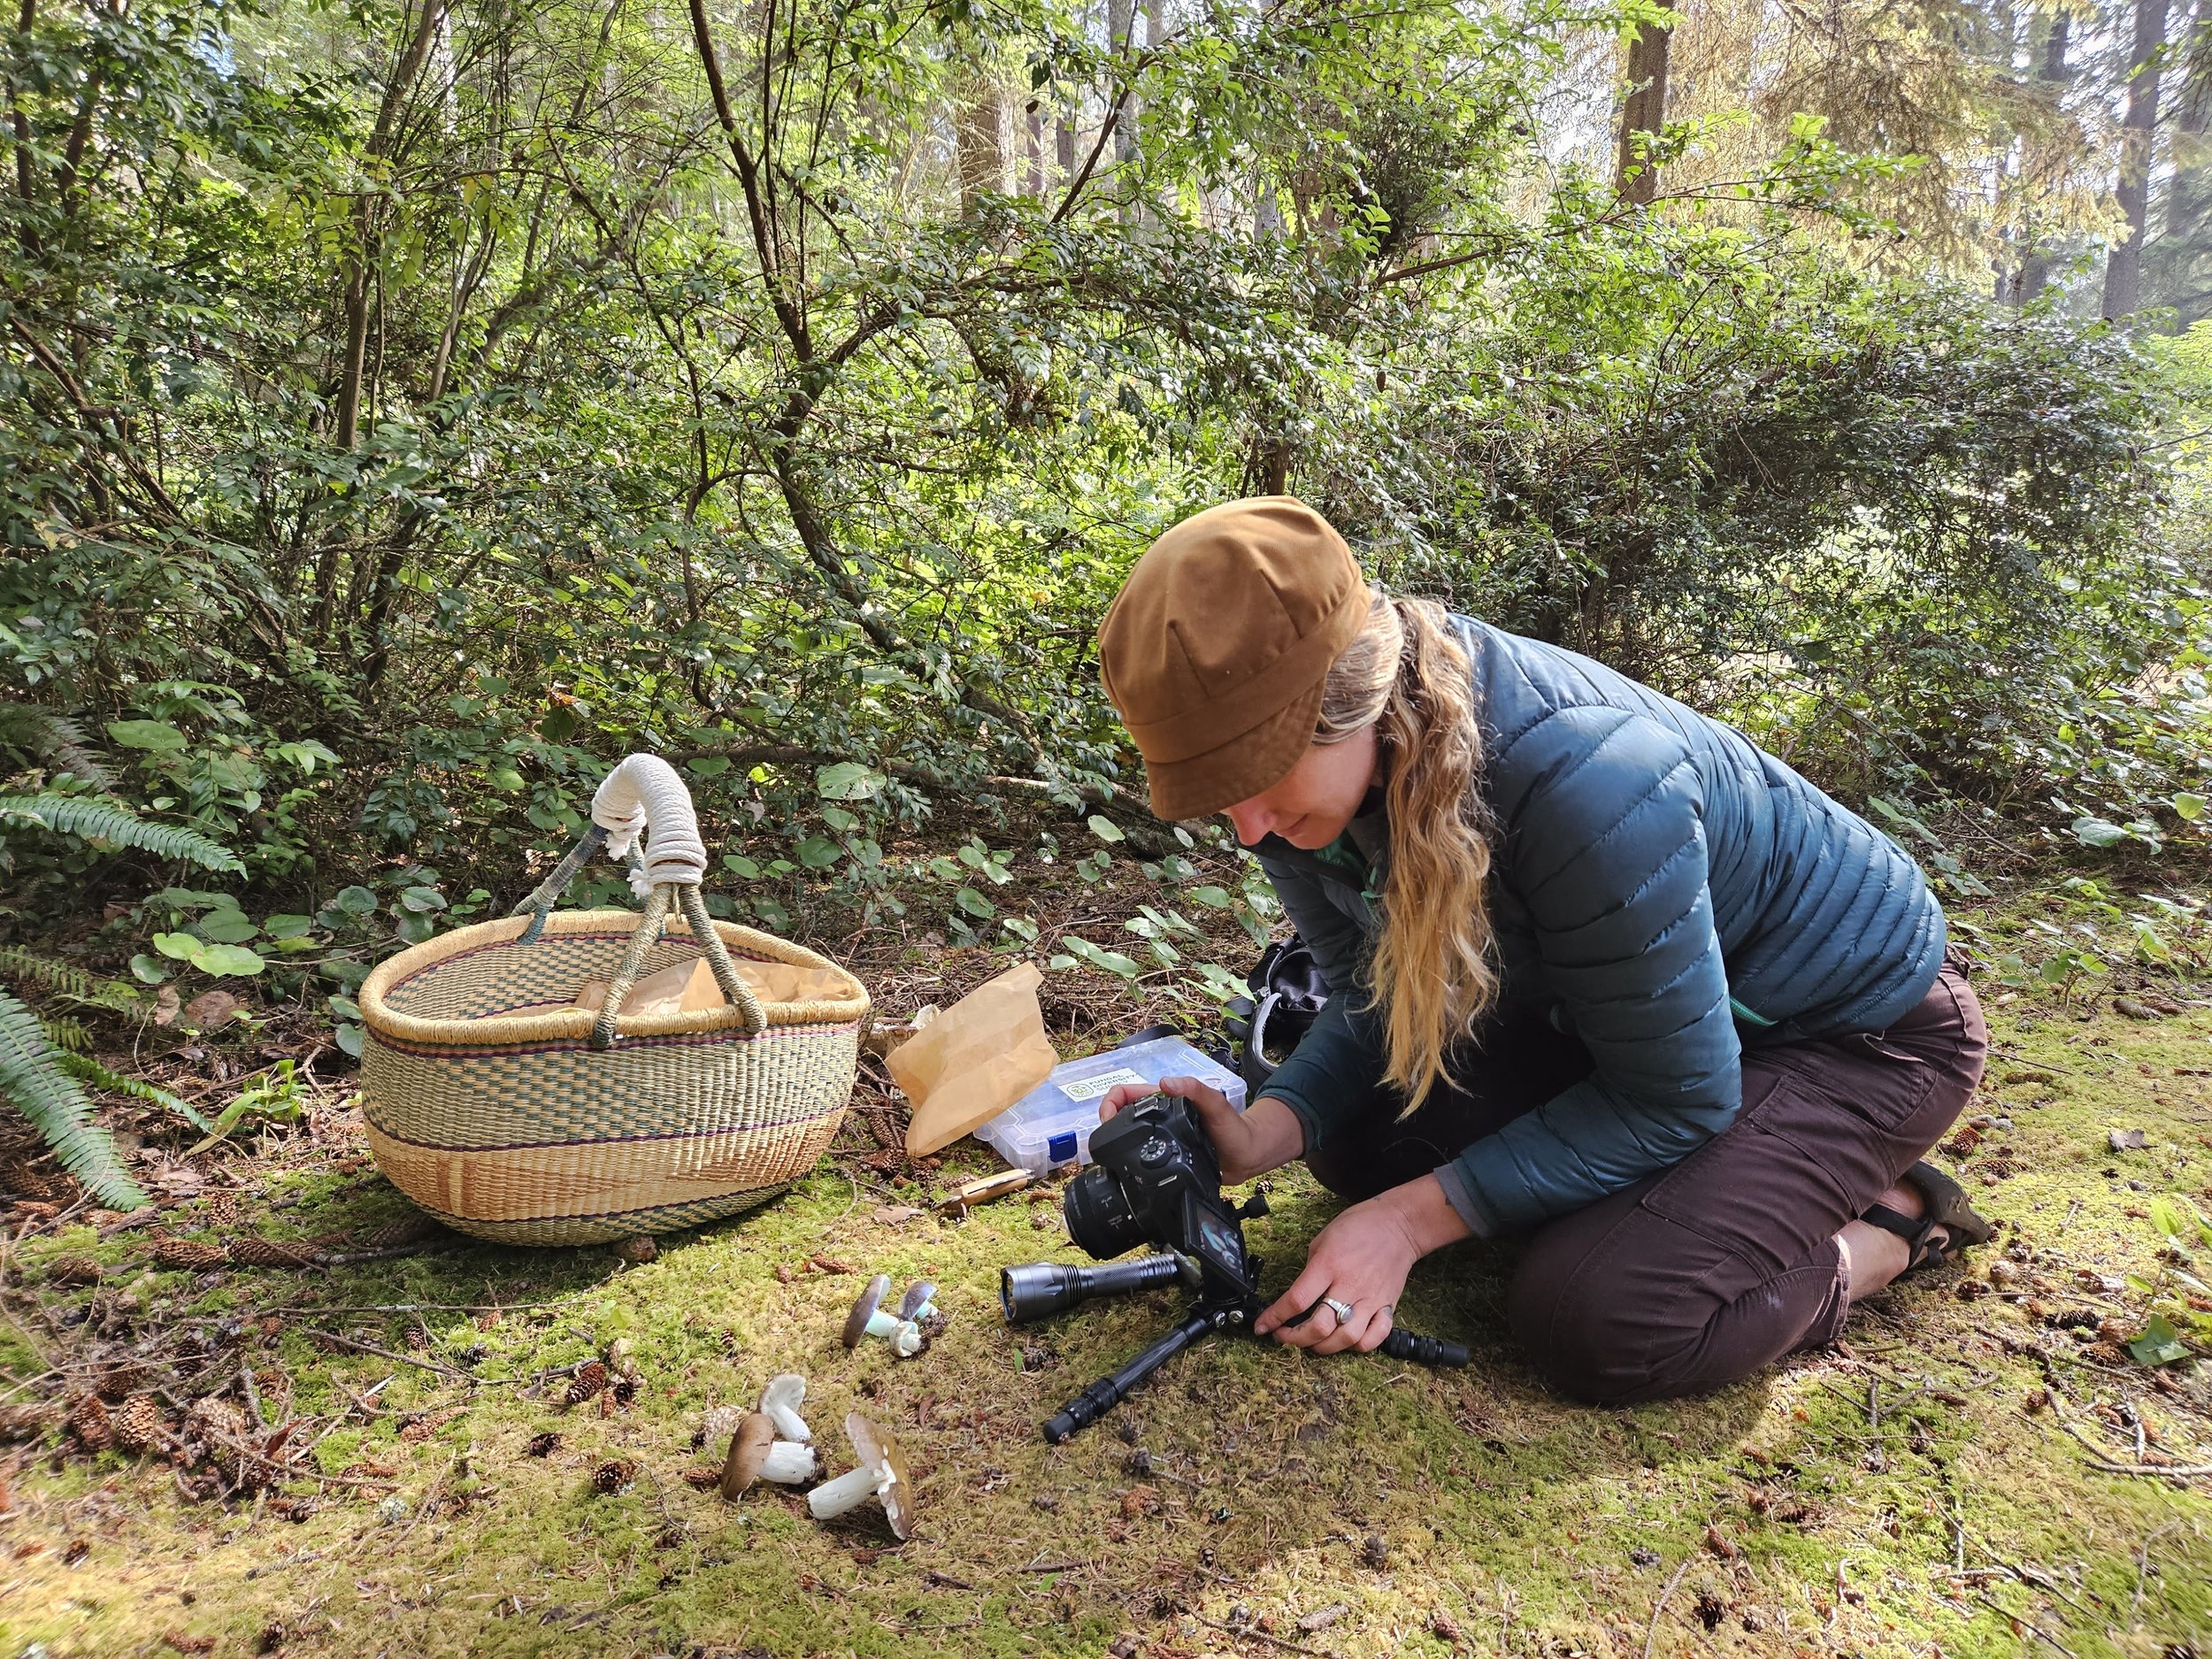
After removing
Dig the specimen up gently using a knife or trowel, make sure to get bulb/volva/root if present.
Photograph the specimen from multiple angles: top, side and underside (gills/pores).
For some genera it is important to cut the stipe vertically and photograph
Photograph staining, bruising and oozing of cap, stipe, and gills, noting initial color and changes.
Photograph multiple growth stages if available and in one image if possible
Stand back and photograph the habitat; include an image of bark and leaves if you cannot identify major trees or shrubs nearby.
Size: photograph the mushroom with a field data slip, which has metric scales on two edges -- or with a ruler (6 inch rulers with metric scales are handy).
Put each specimen (or several of the same species collected in the same spot) into a separate bag in your basket or compartment in your tackle box (essential for reducing contamination during sequencing).
Recording Info
Field data slips are optional. Why use them?
To associate photos with collected specimens when you get back home, for identification and for adding description information to iNaturalist & Mushroom Observer.
To improve photo-documentation skills by providing an ever-present checklist in the field of what to pay attention to and photograph.
To capture size information.
To associate photos with specimens after drying, if you plan on sequencing or vouchering.
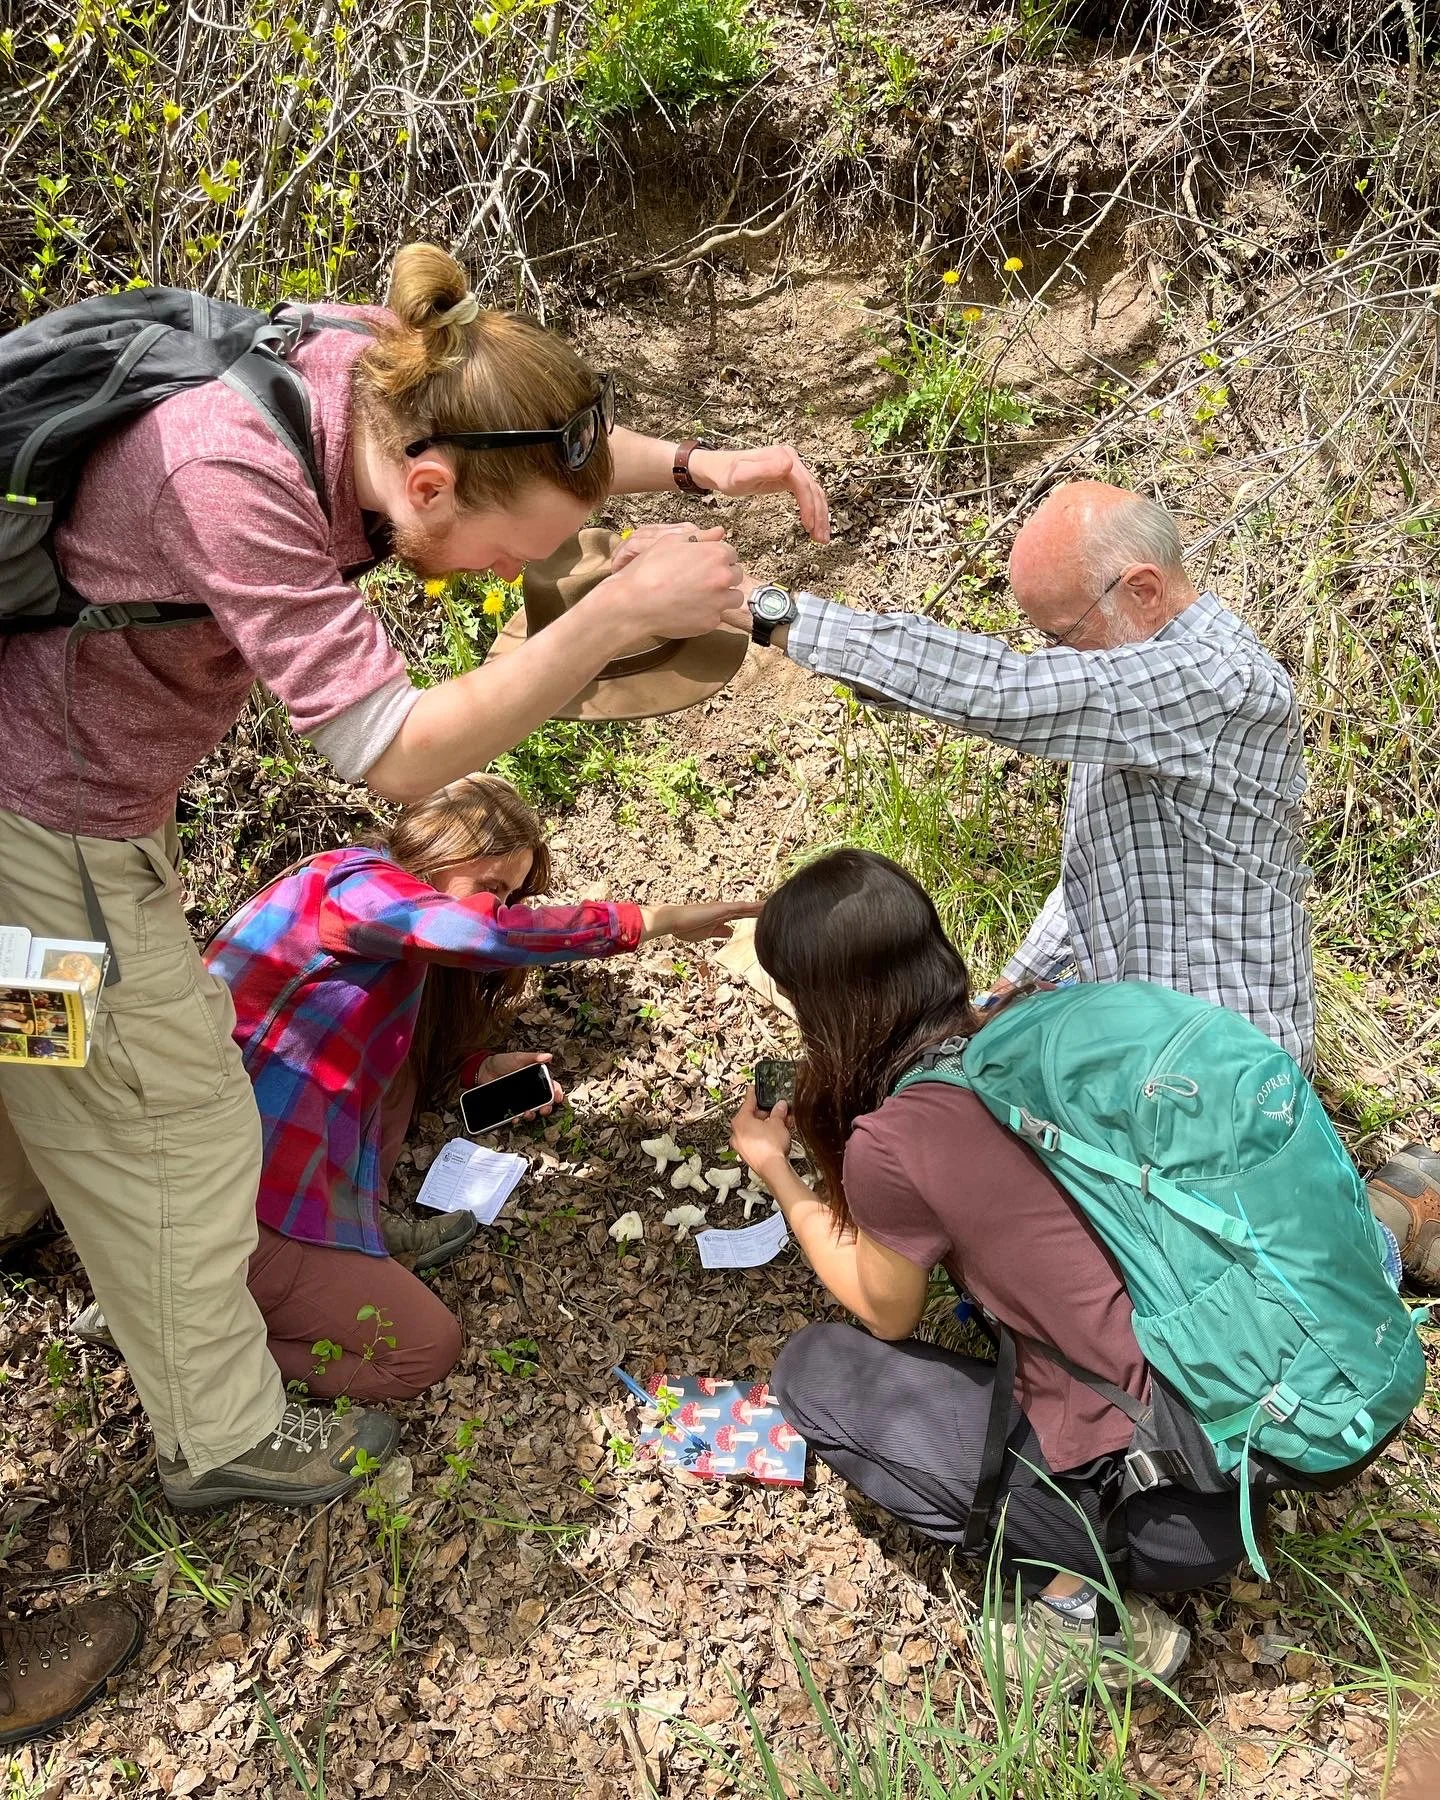
How to get the iNaturalist observation number in the field
This especially helpful for group projects if you are using the iNaturalist app in the field (and have cell service):
Take a photo of the specimen and upload it to iNaturalist.
Click on the photo and the image will show up at the top of your screen
In the upper right corner of that image, touch the little "share" symbol.
Select the email icon; the permanent number is at the end of the URL that is now pasted in an email. Write this down and delete the email.
Take more photos, edit and upload them at home.
Record information
Using field data slips and/or maintaining a notebook are not required but add to the scientific value of your collections as well as ease of organization. Many mycologists complete their descriptions at home.
Note these features in the field or from your photographs
Substrate the mushroom was growing from (ground, wood species, etc.).
Trees nearby for soil-dwelling mushrooms.
Changes to flesh color on exposure to air, handling or breaking.
If a cut oozes a fluid, record its color and how it changes in a few minutes.
Results of chemical tests.
Describe these features
Odor Scratch or break a fungus or sniff the gills near the stipe (best done when the fungus is fresh).
Taste Experienced mycologists taste a small bit of cap flesh on the tip of the tongue and spit it out. Don’t try this until you recognize common poisonous species.
Texture note whether tough, fragile, crumbly, etc. If there are enough fruiting bodies, twist or snap a stipe to see how it breaks.


At Home
Edit, organize, and upload your images
Select your best shots (minimum of 3 — more is better).
Crop images if needed; the specimen should fill a significant portion of the image.
Upload your photo observations and metadata to either iNaturalist (iNat) or Mushroom Observer (MO). Both platforms allow you to document the fungi you have found and share them with FUNDIS and mycophiles worldwide. We encourage you to try out both platforms and see which one you are most comfortable working with. Each has areas where they excel, and areas that could use improvements. Both are free to use.
If you are uploading your project to iNaturalist, add it to the Fungal Biodiversity Database, or another relevant Local Project.
iNaturalist
Pros
Has a mobile app with Artificial Intelligence for both iPhones and Androids
Uploading photos is easier
Better for group projects and forays because of the mobile app
Cons
Data quality and verification is more limited (fewer experts monitoring)
Maximum image size is limited
Difficult to export data for sequencing or fungaria submission
Mushroom Observer
Pros
Has a large community of active expert identifiers
Can upload higher resolution images and more photos
Advanced features specific to mycology
Cons
No mobile app
Bulk uploading is not straightforward
Collecting Macrofungal Specimens for Scientific Research
FUNDIS × North American Mycological Association, 2022
[9 min]
How to Photograph a Mushroom
Sigrid Jakob
[1 min]